You know ’em, you love ’em…its the Remington 870 shotgun. A fine scattergun that is so widely represented in this country that you’d have to look pretty hard to find a police department that didn’t have them as the ‘standard’ shotgun. Reasonably affordable, well built, and the target of a huge accessory market, pretty much every survivalist has one. (Although, to be fair, Mossberg’s 500 series is probably an extremely close second-place finisher in this.)
A standard accessory that most folks drop onto their 870 is a magazine tube extension. After all, no one ever had a sudden violent emergency and thought ‘man, I wish I had one or two less shells in this thing.’ It used to be that adding a magazine extension was as simple as unscrew magazine endcap, remove old spring and follower, drop in follower and new spring, screw extension onto end of magazine tube…done. Unfortunately, a while back, the guys at Remington, for whatever reason, added two ‘dimples’ in the magazine tube. If you add a magazine extension, the dimples will keep the follower from traveling past those dimples.
Thus, if you want to add an extended magazine to your 870, and your mag tube has those dimples, you’re going to have to remove them. There are two methods for doing this:
- ‘Press out’ the dimples. This is often done by shoving a socket (from a socket wrench set) of apprpriate diameter down the magazine tube and using it as an anvil to press out the dimples with a c-clamp or hammer. Sometimes it works, sometimes it doesn’t, and sometimes you have a hell of a time removing that socket from the magazine tube.
- Drill out the dimples. Easy, fast, and usually trouble free.
Today, I went with option #2 . (By the way, you can Google ‘remove 870 dimples’ and get a buncha videos on either process.)
First step, unload shotgun, make sure its unloaded, unload it some more, and then, finally, make sure it’s unloaded.
Next up, remove barrel and forend. Easy peasy.
Behold the offending dimples:
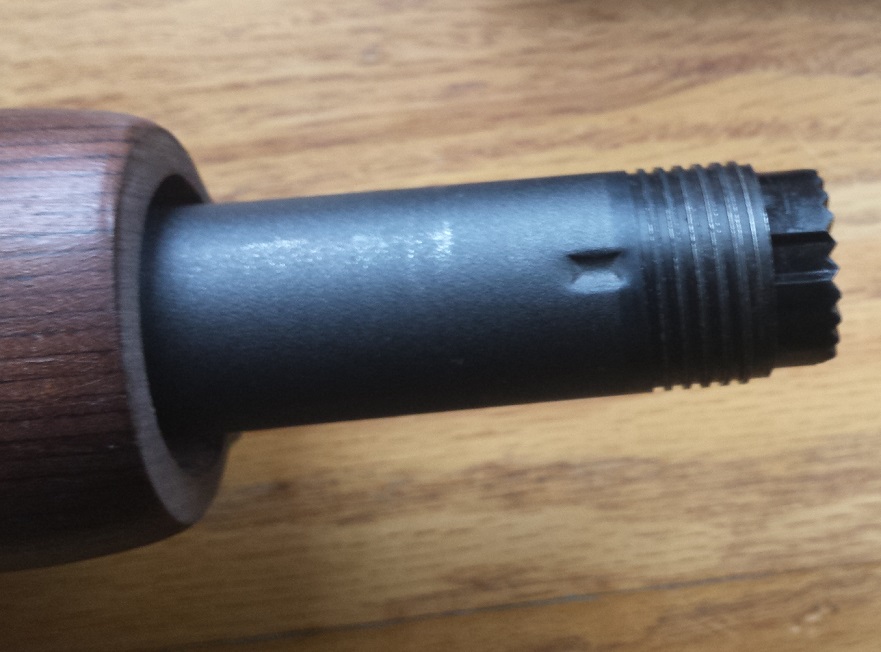
The hated dimple. It’s like some sort of Schumer-Feinstein Speed Bump keeping an otherwise good shotgun from becoming a better shotgun.
The goal is to remove the whole bloody thing. For that, you’ll need a good size drill bit capable of easily and smoothly drilling metal.
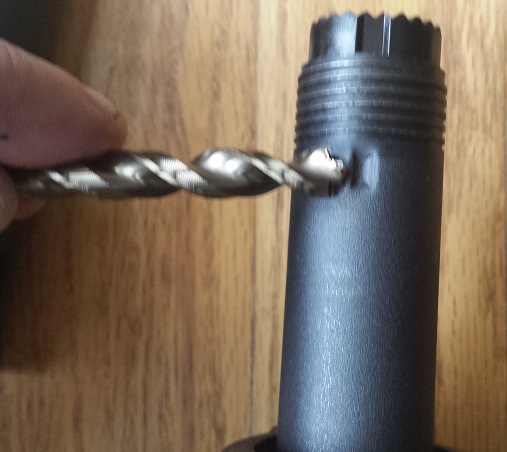
In this case, a 5/16″ bit, centered on the dimple, should be wide enough to do the job.
It’s a good bit easier to have someone else hold the gun steady while you get all drilltastic on it, but, if you have no choice, you can do the job solo.
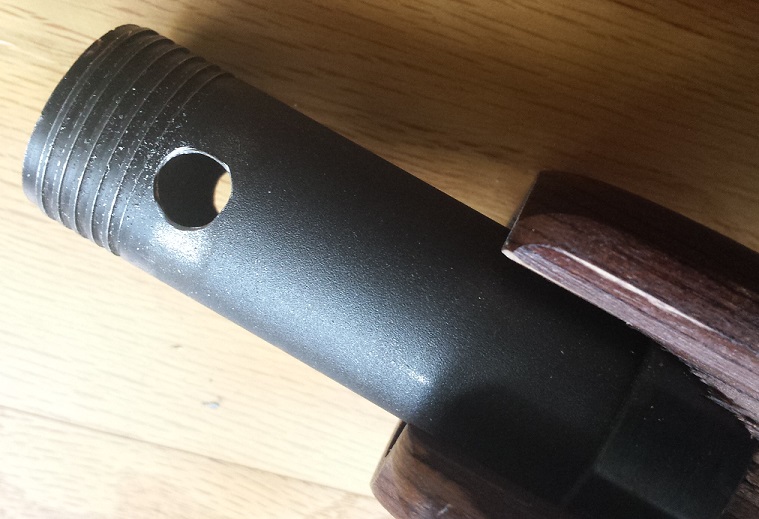 Don’t be an idiot….drill through one dimple, then flip the gun over, and drill the other one. Don’t just drill straight through.
Now, once the drilling is done, you’ve still got some work ahead of you. That magazine follower needs to slide up and down that magazine tube like Sasha Grey on a Vegas stripper pole. So…you’re going to have to polish the inside of the magazine tube where you drilled the holes to make sure there are no rough edges or anything that will snag the magazine follower. There are a couple ways to do this…here’s the easiest. Go grab your Dremel set (aka ‘The Gunsmiths Friend’) and pull out one of those sanding/polishing drums. The holes you drilled aren’t so far down the magazine that you can’t reach them with the Dremel. I already had my drill out so I just chucked the Dremel bit into the drill.
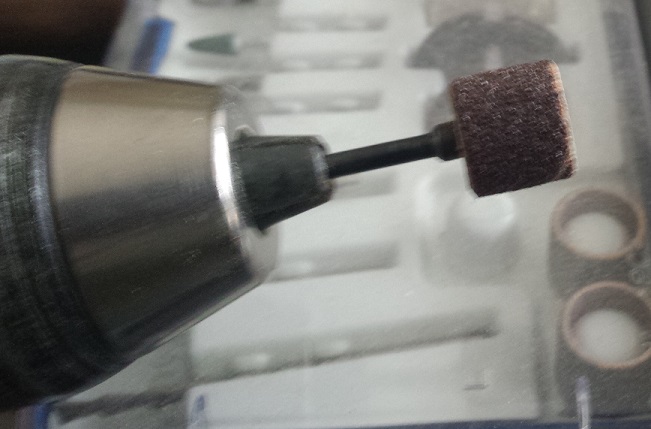 Spin it up, get in there, and start polishing. You want to remove any jagged bit of metal from the drilling process. You want absolutely no jagged edge, lip, or raised metal from where the drill bit passed through the metal. You can’t really overpolish things, so go to far rather than not far enough.
When finished, I ran a 12 ga. BoreSnake through the mag tube a bunch of times to make sure any debris was removed.

12 ga. BoreSnake to make sure debris is removed. Will also snag on any obvious jagged edges you missed.
A word about followers. This is the crappy, lightweight, flimsy, plastic, OEM follower Remington sent this shotgun out into the world with. Let’s not sugarcoat it…its a POS.
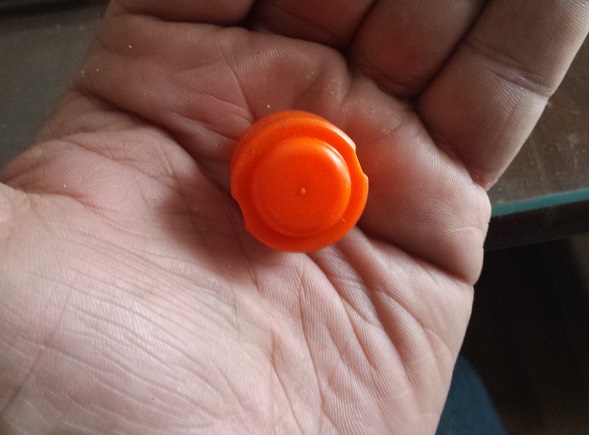
Has the overall quality feel of the little plastic patio table that keeps the box lid off your pizza cheese. Doesn’t instill much confidence.
Other than it being a good, bright color it has nothing going for it. Oh, I’m sure it will work but I want something with some ruggedness, some heft, some substance.
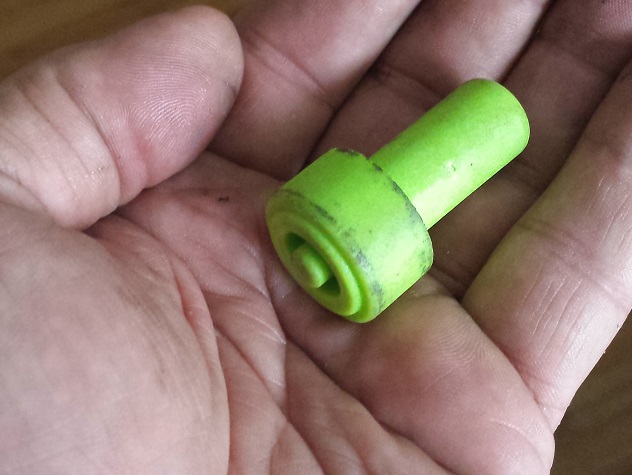
From Wilson Combat. Still plastic, but much more solid.
Wilson Combat 870 follower. There are some others out there, including stainless steel ones, but I’m comfortable with this one. Some followers have grooves to accommodate the dimples (so they claim). I don’t trust them. I’m sure there is a way the follower can rotate slightly in the magazine tube and then have the grooves not line up with dimples. You’re welcome to put your faith in them, but I’ll settle for a dimple-less mag tube and the peace of mind it brings.
So, once you have the drilled holes polished and smooth on the inside of the magazine tube it’s time to put the gun back together. I’m not going to tell you how..if you got it apart, you should be able to get it back together….if not, plenty of videos on YouTube to show you how.
The next thing, which I should hope you would find obvious, is to test the thing. Go get some dummy shotgun shells and load up the magazine. Cycle through all the shells. When the gun is empty the follower should be visible to show you that the gun is empty.
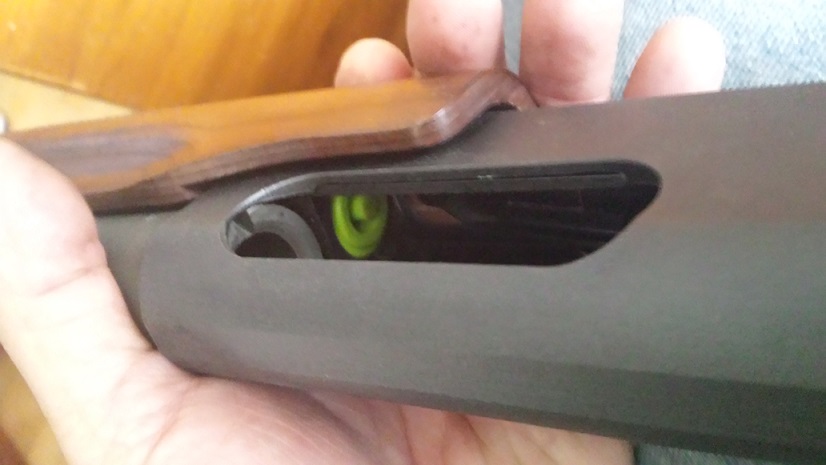 If the gun has ejected all the shells and you don’t see the follower, that means it is hung up in the tube. Take everything apart and get back to polishing. Also, check the follower for sharp edges as well. I slightly rounded the edges on mine just make sure it would run smoothly up and down the tube. Don’t neglect this function testing. When you’re done with the function test, do it again. And again. I do it about a dozen times because you really can’t have too much confidence in your firearms. When its done, load up the shotgun with your dummy shells and let it sit for a few days, then do the function check a few times again and make sure everything is fine. Once you’re satisfied, go to the range and shoot a case of cheap shells through it to give it a final function check.

The finished product, exorcised of the dimples. Ready for whatever life throws at it. (Although, realistically, I need to get a rear sling swivel on there.
If you’re buying a used 870, check to see if it has the dimples. There are millions of ’em out there that don’t and if its a choice between two used 870’s, equal in all respects except for the dimples, I’d buy the one without.
Do a pair of holes in the mag tube pose a risk of dirt getting in there? Well, certainly more risk than if the holes weren‘t there. However, the only time the holes are uncovered are when you actually cycle the action of the gun. The rest of the time they are covered by the forend. Honestly, I see it as a non-issue unless I drop the 870 in a sandbox or something.
There you have it – how to remove Remington 870 magazine dimples. Assuming you have a power drill and nothing else, you’ll need:
- 5/16″ drill bit – about $3.00 for a good one
- Dremel polishing/sanding drum – probably five bucks
- 12 ga. BoreSnake – $12 but you should already have one of these anyway
Armed with this knowledge, I urge you to go forth and eliminate the dimples wherever you may find them…until our great nation is again a nation of undimpled Remington 870’s. So say we all.


